We must take care of our skin on a regular basis. Nothing beats a daily face cleansing regimen at home, even if you go to the salon or employ an at-home beautician on a regular basis.
Cleansing your face will remove your makeup as well as any dirt and oils that have accumulated on your skin. If you skip cleansing, your skin may become prone to breakouts and oiliness or your complexion become dull.
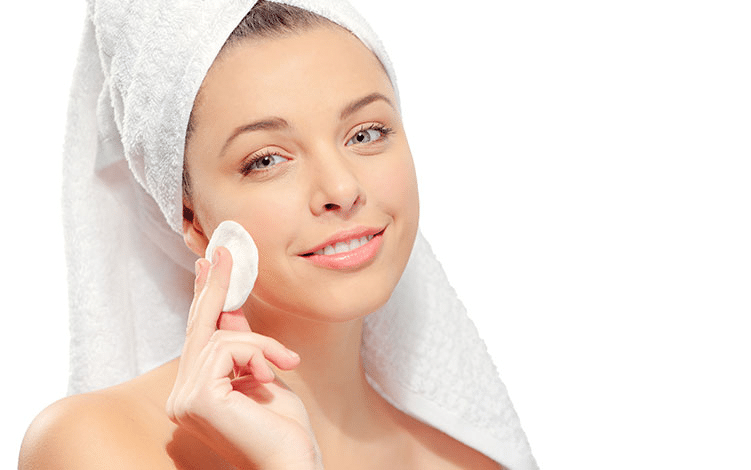
Difference between Face Cleansing and Facial
The primary goal of the facial is to stimulate blood circulation in the face via Facial message. Cleaning your skin simply removes excess oil and debris particles and promotes cell turnover.
Deep cleaning, exfoliating, steaming the face, and eliminating all whiteheads and blackheads are all part of a clean-up. While cleaning, exfoliation, steaming, deep pore extraction, massage, and a face mask or pack are all common elements of facials.
Facial should be taken by a professional once every month or every six weeks. Alternatively, at least four times every year. Whereas Cleansing should be done every two weeks and anytime you spend a lot of time outside.
Step by step guide for Cleansing at home
Step 1: Wash your face
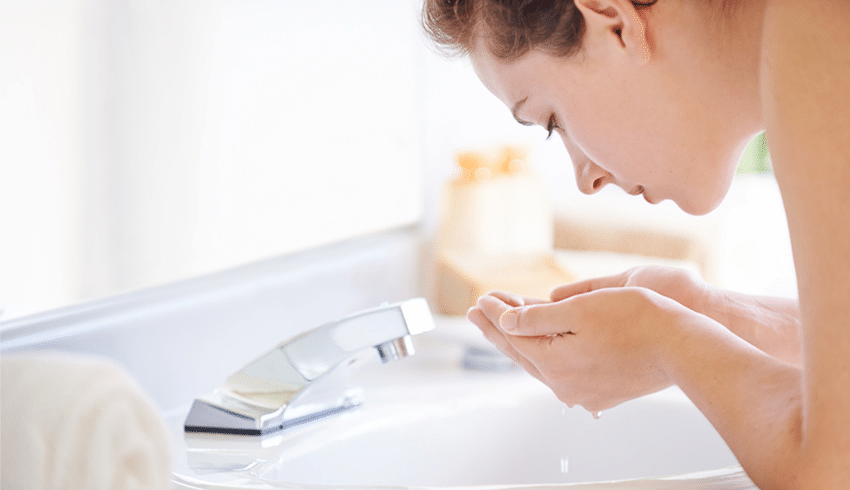
This should go without saying, but the first step to having perfect skin is to thoroughly clean and wash it. Always use warm (not hot ) water to clean your face. Either you can use a gentle soap or face wash or
You can clean your face with natural solutions to preserve the cleanliness of your skin. Try these natural cleaners that are readily available in your kitchen cupboard.
1. Milk
Milk is not only a calcium-rich drink for your bones, but it also acts as a cleanser. Lactic acid, which acts to exfoliate dead skin cells, is what makes milk a great cleaner. Fill your palm with a little bit of raw milk and gently massage it into your skin. let it rest for 1 or 2 minutes then wash your face with water.
2. Honey
Honey is high in antioxidants and a powerful moisturiser. It contains antibacterial qualities, thus it helps you get rid of acne while also soothing your skin. Take half a teaspoon of raw honey and gently massage it into your skin to use as a face cleanser. Wash it off with water.
3. Coconut oil
Coconut oil is great to cleanse your face. As It’s antibacterial, antioxidant-rich, and very hydrating. Coconut oil may also treat stretch marks, scars, fine lines, and wrinkles by improving collagen cross-linking.
Step 2: Exfoliate
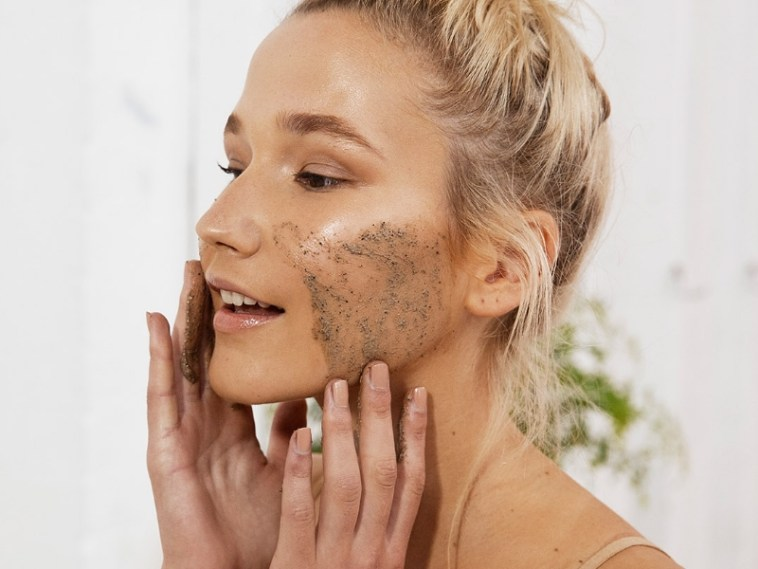
Step two of cleansing your face is to Exfoliate your face. As if you just wash your face, dead cells, blackheads, and dirt deep within the skin pores will not come out. You should also exfoliate your face. Exfoliation aids in the enhancement of your skin’s radiance by removing dead skin cells. There is a variety of nice exfoliators on the market, but you may also prepare one at home yourself. Read our blog on 3 DIY Beauty Face Scrub for Younger Brighter and Softer Skin and DIY 3 Simple Sugar Scrubs to make some effective and simple scrub yourself.
Be careful don’t use a face exfoliator too frequently, you may irritate your skin.
Step 3: Toning

A Toner is a liquid-like solution that resembles water in appearance and feel, however, it is not necessarily clear. But toner functions as a medication, covering any skin breakages that may occur as a result of scrubbing. Toning your skin cleans, refreshes, and restores it. Toners assist to remove any leftover make-up and balance the PH of your skin. Pore visibility will also be reduced.
Toner should be used immediately after washing your face. Toner aids in the breakdown of any residue left behind after cleansing. It cleans your face thoroughly, allowing it to absorb the products that follow. We are sharing some easy and pocket-friendly toner that you can easily make for yourself
1. Rice water toner
Rice water is high in amino acids, vitamins, and minerals, all of which have been shown to nourish, heal, and revitalise skin. Along with other cosmetics use, rice water may also be used as a toner. Rice water toner tightens skin and minimises pores, giving in a smooth, bright complexion.
Using water, rinse half a cup of rice. Allow it to soak for a few minutes in half a cup of water until it becomes milky. This is where you’ll put your rice toner. to be used Simply dab a little amount onto a cotton pad and apply to clean skin.
2. Green Tea Toner
Green tea possesses antioxidant, anti-inflammatory, and anti-carcinogenic effects. This indicates that green tea may help with a variety of skin issues as well as overall skin health.
Boil 1/4 cup of water, then add the teabag and let it steep until the water is warm. Then put it in a little bottle and put it in the fridge until it’s cold. It’s now ready to use!
Step 4: Apply a facepack
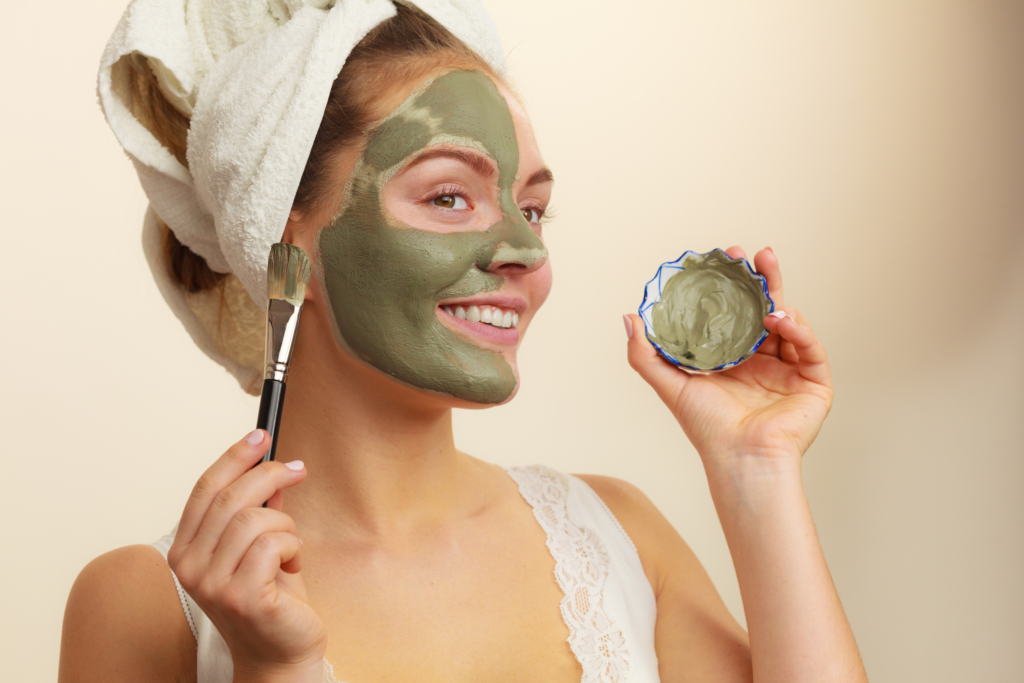
Face masks are a fantastic way to tackle various skin problems in any Face cleansing regimen. Masks can moisturise skin, eliminate excess oils, and enhance pore appearance all while giving a soothing, spa-like experience at home. Try one of the following natural homemade face packs as per your skin
1. Honey Facepack
Honey is an excellent face pack for dry skin. Honey is a humectant, which means it not only draws but also retains moisture on your skin. Apply organic honey for about half an hour, then wash off the honey with cold water.
2. Banana Facepack
Overripe bananas create a fantastic hydrating face mask for all skin types. Simply mash the banana well, then apply it over your face for around fifteen minutes before rinsing with cool water.
3. Yoghurt face pack
Yoghurt creates a fantastic face mask that is both nutritious and purifying. Yoghurt includes lactic acid, which is known to decrease the appearance of fine wrinkles. It also contains essential B-complex vitamins, such as B-5, which aid in skin healing.
Use any of these or check out the other amazing facemask in our blog Homemade Mud Mask
Step 5: Moisturizer
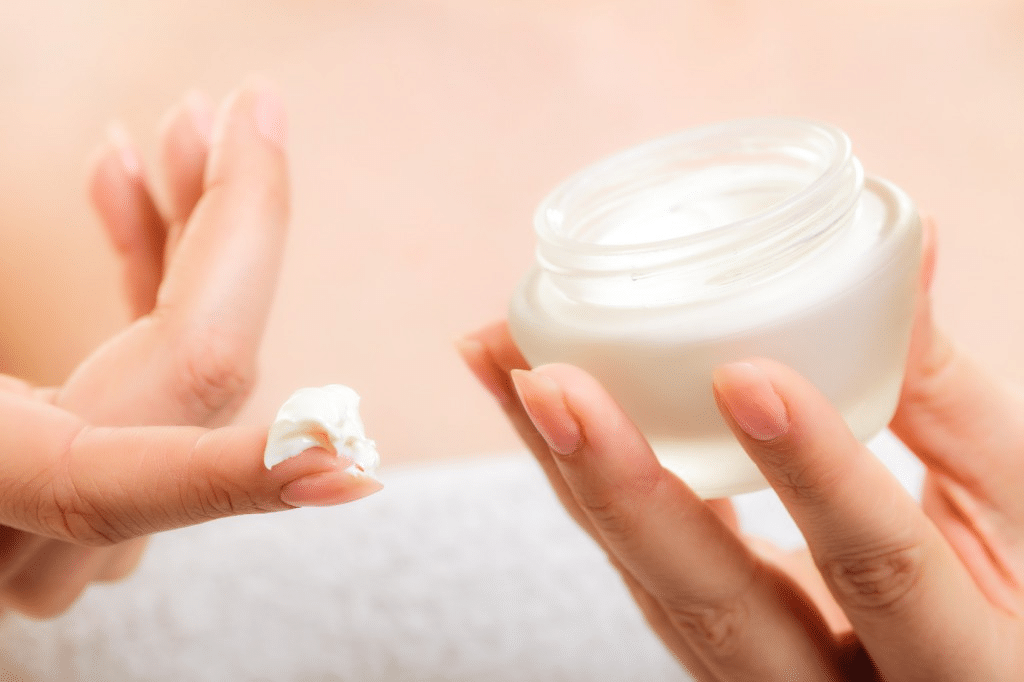
Packs can cause your skin to seem dry and strained. Using a moisturiser to replace lost moisture and keep your skin moisturised is an important element of any face cleansing routine. A moisturiser moisturises the skin while also sealing in the benefits of the cleanser, leaving your face shining for hours.
Eye creams, serums, and moisturisers can be added to beauty regimens, depending on your skin’s needs and preferences.
Learn to make effective moisturizers at home from our post on Top 3 Natural Moisturizers for Your Winter Skin
I hope you save yourself some time and money and follow this guide and do face cleansing organically at home like a pro.